Beauty Without Fuss

Popular Posts

Recent Posts

Friday 7 November 2014

Lacquer Lab’s Novella Collection


By Emily

Lacquer Lab is a brand I must admit I hadn’t come across before; the shame! Founded by mother-daughter duo Amanda and Emily earlier this year, they produce toxin free (AKA, free from the five main nasties: Dibutyl Phthalate (DBP), Formaldehyde, Formaldehyde Resin, Toluene or Camphor) fashion-focused varnishes that are seriously ticking my polish boxes. The best bit; they are made in the UK! Hurrah for British industry!


Creative Director Emily was kind enough to send me some samples from their AW Novella collection to try. And 
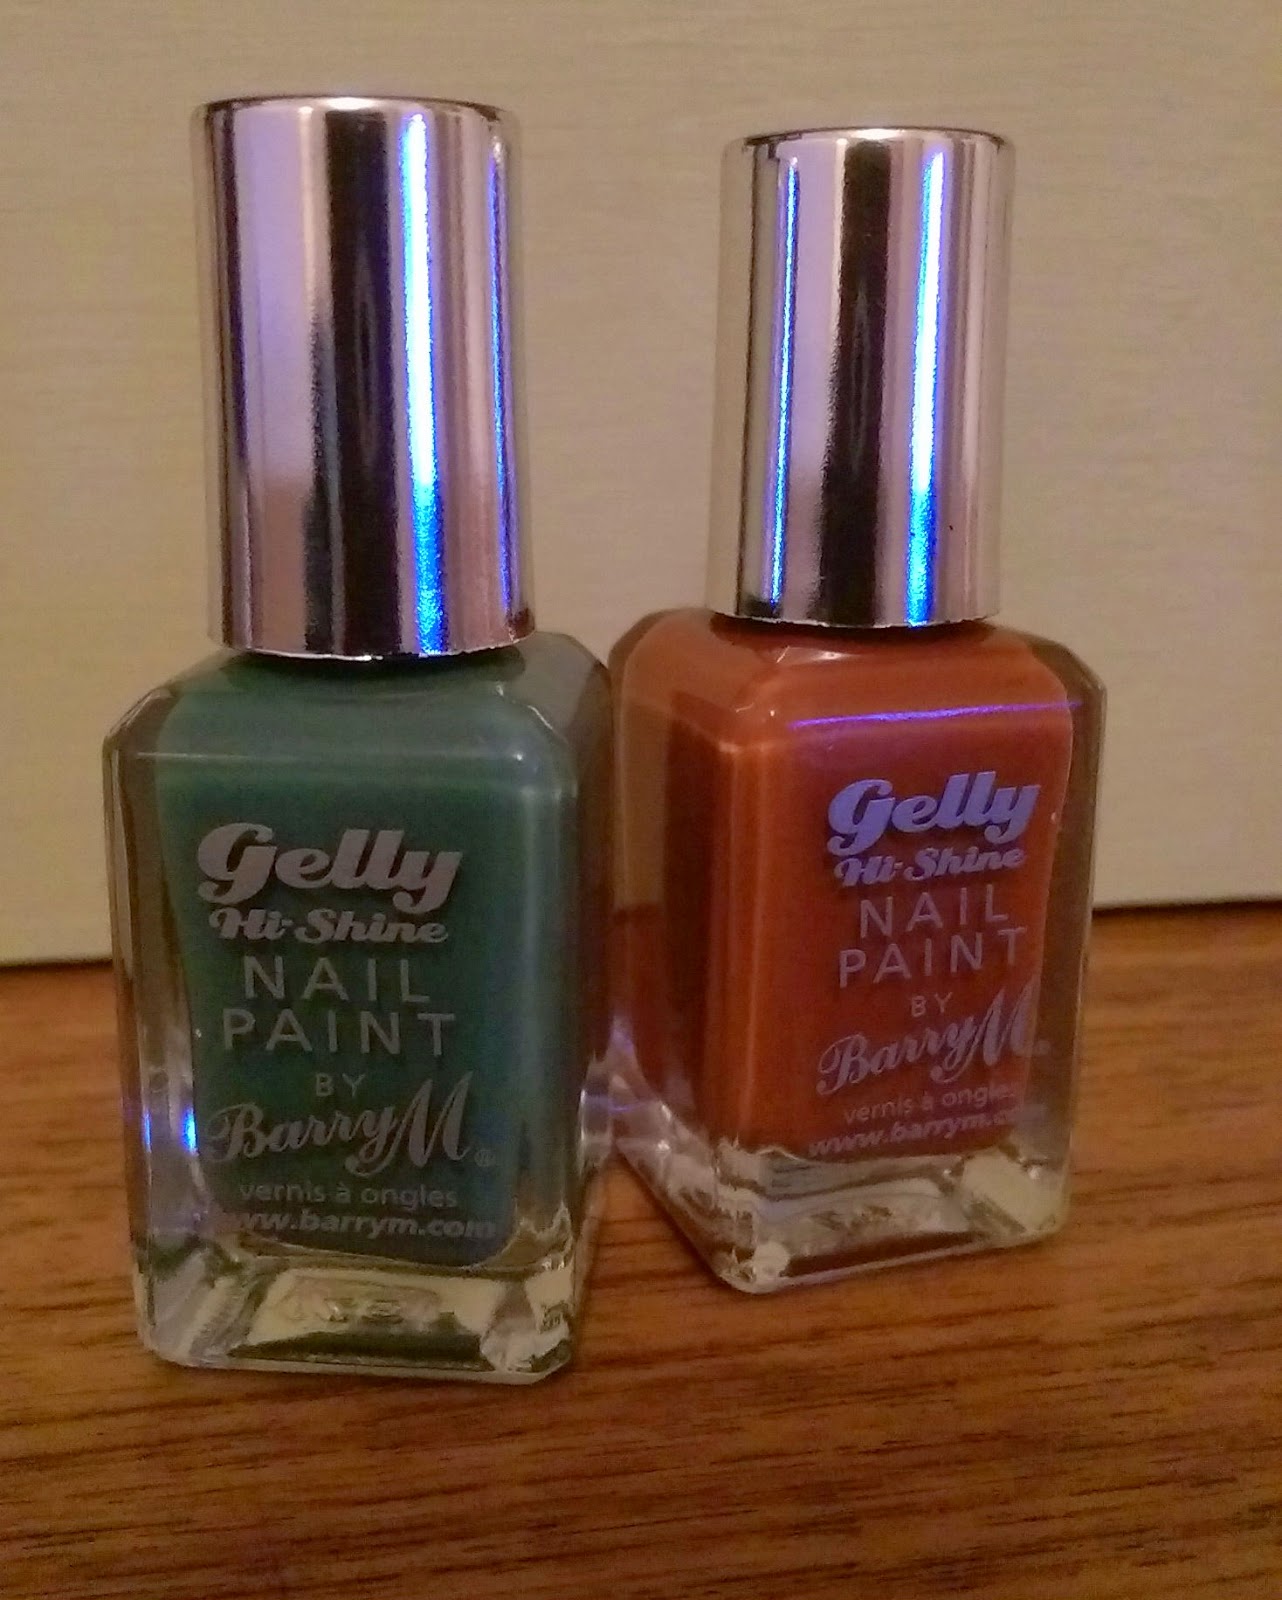
oooh they’re a bit gorgeous. The first two I’ve tried out are Lover At The Ritz; a decadent chocolaty plum and Cigarillo; a delicious burnt butterscotch with a hit of nicotine.

The coverage is great, two coats and you’re done, plus they have a really high-gloss finish. For this 
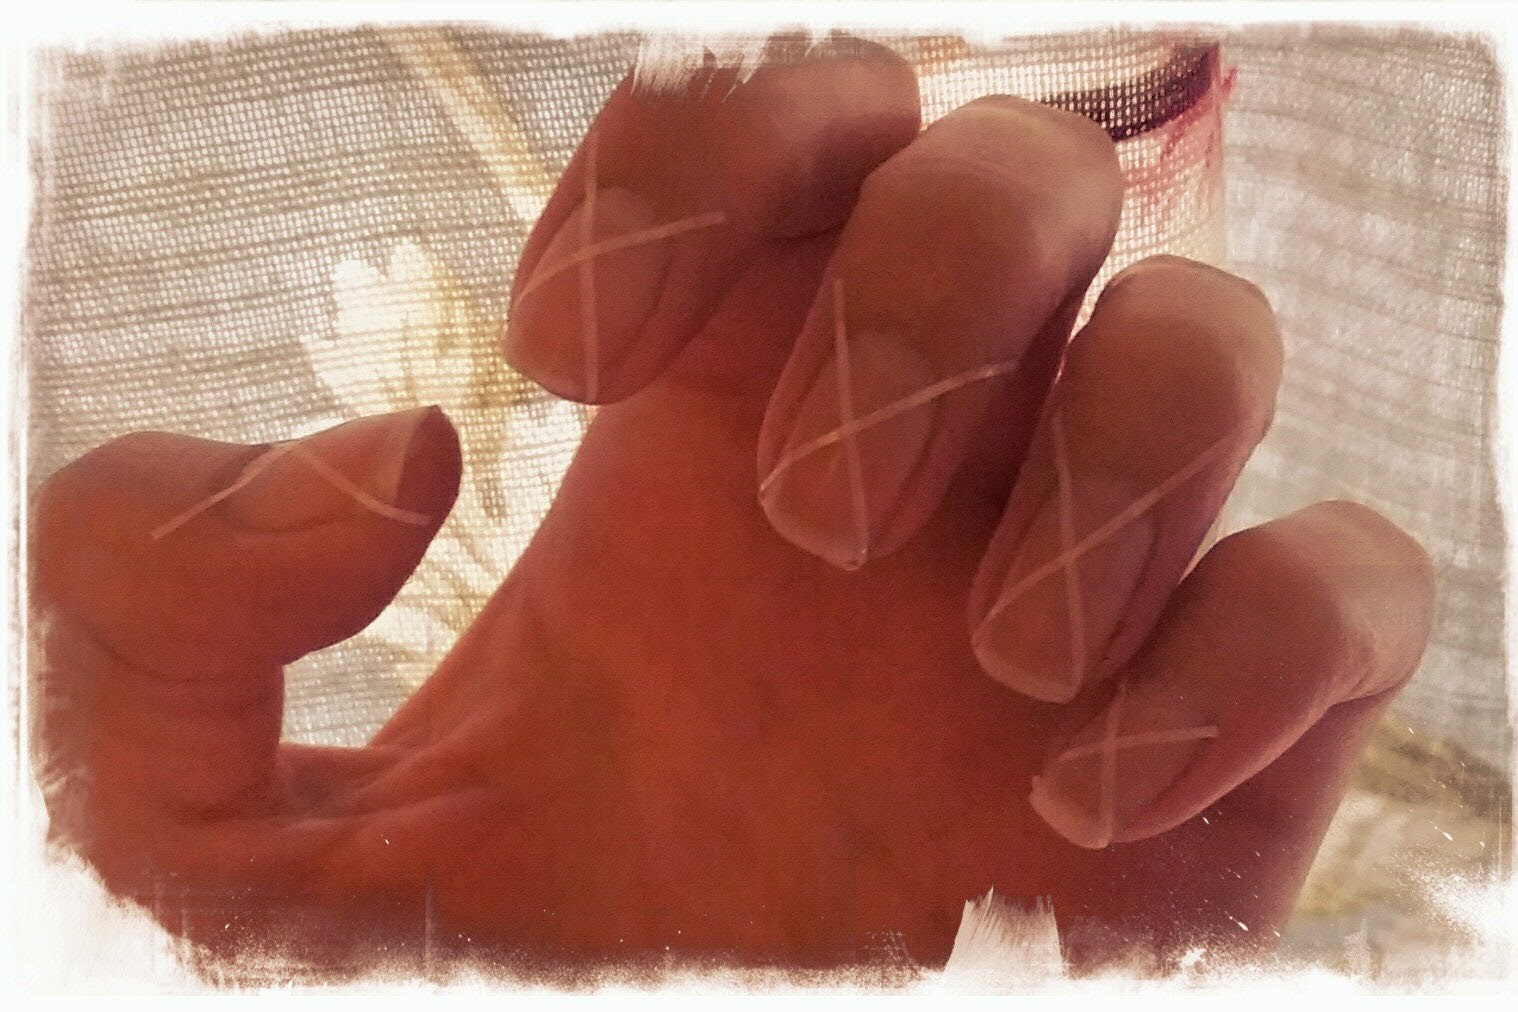
look I’ve used Lover at the Ritz as the base colour, with hints of Cigarillo on two feature nails. Because it seems I am incapable of 
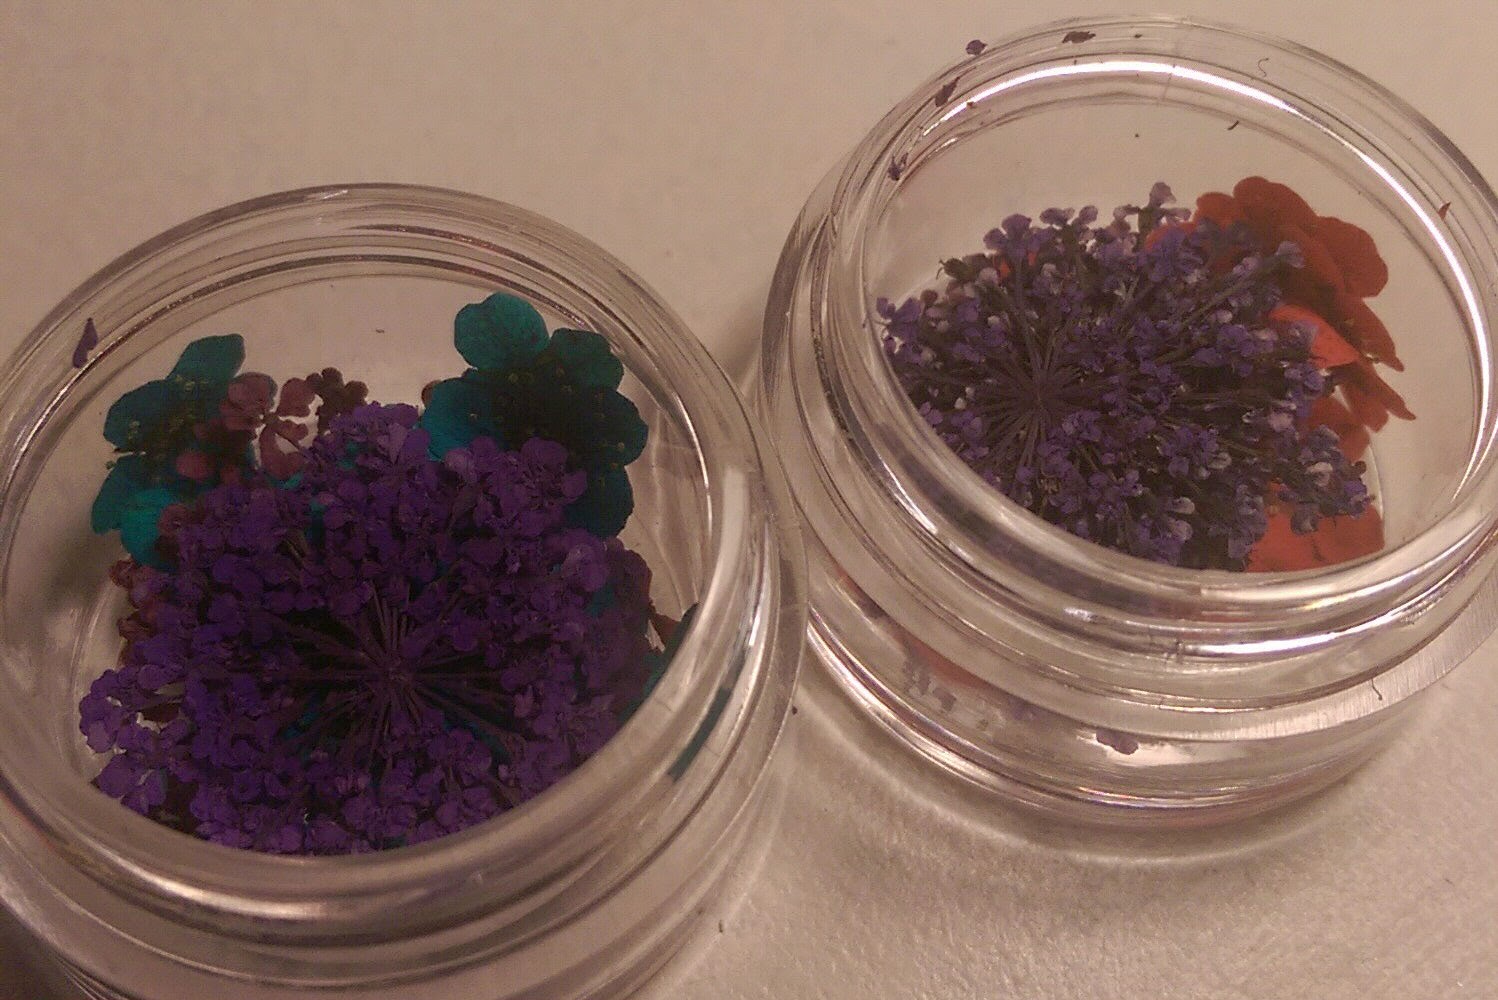
having plain-colour nails these days I’ve added some IZ Beauty of London gold nail decals too. I found it quite hard to capture the true colours of the polishes in my photos; the plum is much darker and richer on the nail, as you can see from the pics!


At £9 a pop these polishes are less than your average OPI or Nails Inc polish and of course you get the added glow of supporting an awesome mother-daughter business AND a UK manufacturer…or maybe that’s just me? Anyway, I bloody love them, and think you might too!

The fine print: PR samples

This post: originated at: Get Lippie All rights reserved. If you are not reading this post at Get Lippie, then this content has been stolen by a scraper
Share:

Wednesday 15 October 2014

Autumnal Tones from Barry M A/W Collection


By Emily

I've given in. I will no longer shiver because of my bare ankles every morning, I will not shun my cosy coats and thick socks because I refuse to believe it is no longer summer. You know, October.

Now that I've accepted it, I am ready to embrace all things Autumnal and Wintery - fireworks! Matching gloves and scarves! Bobble hats!

Every time I pop to a well-know chemist, I take a trip to the Barry M section just to see what's new! A few weeks ago I picked up some colours from their new Autumn/Winter collection which has a distintly spicy feel. My favourites (and the ones that ended up in my basket) were Cardamom and Paprika. Paprika is a really unusual reddy-brown. Not unlike the colour of a brick. Cardamom is a beautiful warm green, the likes of which I've not seen before. They are good at their colours those Barry M chaps.


Now, I have just moved house (STRESS) and it's the busiest season at work (DOUBLE STRESS) so I haven't really had much time for my nails in the last few weeks. But last night I treated myself to two coats of Paprika...it goes in really thick and glossy (as do all Barry M Gelly Hi-Shine polishes) and then because I am incapable of having one-colour nails I went for a quick diagonal effect on one feature nail using the striping tape and the Cardomom colour. Finally I added a line of simple gold studs by IZ Beauty of London, because I can't resist!


Are you a fan of Barry M? What's your favourite colour from their collection?


This post: Autumnal Tones from Barry M A/W Collection originated at: Get Lippie All rights reserved. If you are not reading this post at Get Lippie, then this content has been stolen by a scraper
Share:

Tuesday 30 September 2014

Nail Effects with IZ Beauty of London


By Emily

A couple of weeks ago I was invited along to the launch of IZ Beauty of London’s new collection of nail effects at The Sanderson Hotel in London. Other than nails, my other favourite thing is pick and mix, so imagine my glee when I arrived to discover a table piled with nail amazingness and jars of sugary delights! It’s like they knew I was coming!


Nestled amongst the bonbons and strawberry laces was a whole new kind of candy…and I was invited to fill up a box with all my favourite bits. From simple studs, to punk spikes and gold leaf, this collection is pretty damn awesome. Even the humble nail sticker has had a makeover: the Deco It designer nail decals are a revelation; something between a transfer and a sticker, they lie flat to the nail with no annoying edges to come unstuck. Most of the elements have been designed with gel nails in mind, but that hasn’t stopped me applying some of these amazing effects to my natural nails. I hope you like them!


I love the simplicity of this look – a simple black gloss nail with single gold studs at the base, and a graphic decal in gold on a feature nail. After sealing with a good top coat I was impressed that the studs stayed put for a good week (though the provided glue was very strong!).


The second look I tried was a bit fiddly but once you get into a rhythm applying the studs it doesn’t take long at all. I started with two coats of my favourite Essie polish called Cocktail Bling. Then using a dabber with a touch a glue I added the individual studs (alternating gold flat studs and blue pearls) in a long strip. I love this effect and once again, it lasted for a week, with the studs out-lasting the polish!

The good news is that all these lovely embellishments and decals will be available at http://izbeauty.co.uk at the end of October.


And finally, when you’ve got studs (or worse, glitter polish) that won’t budge, here’s how to remove it quickly and simply – just soak cotton pads in remover, wrap around each nail, wrap in foil and leave for about 10 mins. When you remove the foil and pads away comes all the polish!

The Fine Print: PR Samples

This post: Nail Effects with IZ Beauty of London originated at: Get Lippie All rights reserved. If you are not reading this post at Get Lippie, then this content has been stolen by a scraper
Share:

Tuesday 2 September 2014

Storage Week! Nails ...

We're a nosy bunch here at Get Lippie, so when we were mulling over makeup storage recently, our editor requested - nay, demanded - we all get out collections out for the lads, as it were.  So this week, sit back and enjoy perving over total strangers' makeup collections.  On the internet.

We're kicking the week off with Emily, our nail-obsessed newest addition to the team:


Disaster struck this week in the form of me returning to the gym for the first time in FOREVER and donning my boxing gloves again. Of course I had forgotten that long nails and boxing don't mix and an hour later I had broken pretty much every goddam nail, resulting in me having to cut them incredibly short.

I KNEW exercise was bad for you.

So, while my nails are pretty much out of action I thought I'd share my DIY nail storage solution with you. Now, my collection isn't HUGE (yet) but probably bigger than average and I got rather fed up with various boxes and bottles lying around my flat and never being able to find the colour I wanted. IKEA came to the rescue in the form of this set of storage drawers, which of course I painted in pretty pastels and embellished with pearls. Because, why not?


I have a drawer for everything: cotton wool and buds (the pointy ended ones which are great for tidying up), a multitude of files, clippers and such like and then one for nail stickers and embellishments. I used to travel to Japan for work a lot and always paid a visit to Tokyo Hands (AKA - the best shop in the world) to stock up on cute nail stickers...these doggy and rabbit ones are my favourites, I can't bring myself to actually use them.


The middle drawers house my nail art pens, brushes and larger sets (such as Ciate's awesome if short-lived Caviar and Velvet manicure sets) and then finally the bottom drawer houses all my polishes, in colour order, from reds through to glitters and top-coats. Geeky I know but it means I can find the colour I'm after pretty quickly!

So that's my DIY nail storage solution...though i'm pretty sure I'm going to need a bigger box sometime soon!  How do you store your nail goodies?

Emily

This post: Storage Week! Nails ... originated at: Get Lippie All rights reserved. If you are not reading this post at Get Lippie, then this content has been stolen by a scraper Storage Week! Nails ...
Share:

Wednesday 6 August 2014

Leopard Print Nails with Nails Inc, Barry M and Sally Hansen


By Emily


Leopard print nails are a bit old school now…but still a favourite of mine! Every time I leopardize (made up word) my nails I get a huge amount of compliments, and no-one ever thinks they are hand-painted! So if you want to add a bit of Grrrrr to your mani, here’s how!


First up, two coats of polish, you can choose any colour you like, doesn’t have to be traditional leopard colour! I used Nails Inc. Gel Effect Polish in Lexington Gardens: it gives great coverage in two coats.


Once your base colour is dry, use a contrasting colour (I used Barry M’s Gelly Hi-Shine in Blueberry) to create the patches. Simply dab the brush onto your nail, in irregular patches. You don’t need to be neat, but be careful not to have too much on the brush, or you’ll get 3d blobs.


Once your patches are dry use a nail art pen in black to carefully outline each of the patches, and add some extra dashes and dots in-between. You’ll need a steady hand, but I practice on a piece of paper before starting on my nails, to get the right flow from the pen. I used a new pen this time, Sally Hansen’s I Heart Nail Art Pen…and it’s brilliant! It gives a fine line and is much easier to control than any other nail art pen I’ve used.


Finally, after a bit more drying time, slick over a decent top coat (I use Seche Vite ALWAYS!) to give a glossy finish!


Let me know if you give my Leopard Mani a try!


Share:

Wednesday 30 July 2014

Flower Power: Ciaté Flower Manicure


By Emily

Oooooh, PRETTY! Flowers on pastel nails! I’m hyperventilating!

So yeah, I’m easily pleased. However, this fabulous ‘Bada Bloom!’ Flower Manicure from the geniuses at Ciaté contains all you need to create a super-summery floral nail. These guys have got manicure innovation nailed (sorry). It IS a bit fiddly, but the end result is worth it, I promise.


The set contains a mini paint pot in a pastel blue called Ferris Wheel. It’s a pretty colour but doesn’t give great coverage. I had to use three coats to get an even finish, which equals A LOT of drying time. Luckily Countryfile was on and it was John Craven’s 25th anniversary, so I was enthralled and the drying time just flew by.


Once your colour is completely dry add a slick of the topcoat (included in the set) to one nail and with tweezers place the dried flowers onto the wet topcoat. Push down gently (with the tweezers) to get the flower to adhere to the topcoat and lie as flat as possible. Repeat on each nail, placing the flowers irregularly and mixing up the colours, until the flower fairies would be WELL JEL.This would work really well on one or two feature nails, but I decided to go the full hog, because, no reason.


Finally, over the top of the flowers you apply the top-coat to seal them to the nail and add a glossy finish. You can then file off any flower bits around the top of the nail: I used a pair of small nail scissors to take off any larger sections.

It is quite a long process, but totally worth it I think. The mini-pansy flowers lie flatter on the nail but I prefer the effect of the purple flowers, even though they are more 3D.


I don’t imagine this is very long-lasting but for a special summer night this is a super-pretty manicure and great value too. The set includes a mini paint pot, a full-size top coat, two pots of flowers (I’ve got loads left), tweezers and a basic nail file; for just £18. And that equals some serious blooms for your buck.  

The Fine Print: PR Sample

This post: Flower Power: Ciaté Flower Manicure originated at: Get Lippie All rights reserved. If you are not reading this post at Get Lippie, then this content has been stolen by a scraper
Share:

Wednesday 16 July 2014

Geometric Nails featuring Models Own, No7 and Seche Vite

By Emily

I’ve got a bit of thing for bare nails with a splash of colour; often I’ll do a French manicure but with bright coloured or multicolour tips. It’s really quick and high impact. This week I wanted to create something a bit more unusual, so got out my Models Own nail tape and created this Modern geometric design. Here’s how:


First up, make sure your nails are squeaky clean before applying the nail art tape. Using two strips of tape per nail, create a triangle shape at the top of each nail. Make sure you keep the tape a bit longer than your nail so it’s easier to pull off.

Then apply your chosen colour to the triangle area. I chose a No7’s Stay Perfect in Me! Me! Me! Your first coat should be light…try not to gloop too much on. Don’t wait too long before you apply the second coat and again try to keep it light while getting the colour depth you need.


Once your second coat is on, don’t wait long before carefully removing the nail tape, using tweezers. If you wait too long you’ll get a jagged edge to your triangle.
Once all the tape is removed you can tidy up any rough edges with remover on a fine brush before applying a good quality top coat. I use Seche Vite, for its speed-dry amazingness.


And there you have it, hipster nails worthy of a trip to Dalston. Undercut and Fixie bike optional.


This post: Geometric Nails featuring Models Own, No7 and Seche Vite originated at: Get Lippie All rights reserved. If you are not reading this post at Get Lippie, then this content has been stolen by a scraper
Share:

Wednesday 25 June 2014

Nail Candy by Donnie & Ginny Greer (and introducing Emily!)

So, I'm always getting asked if people can do guest posts, but when you get waylayed by the birthday girl at her own party, begging to do nails for the blog, you can't really refuse, can you? So, without further ado, I present you the latest addition to the Get Lippie team, the gorgeous, the incomparable, the INCREDIBLY TALL, Emily Maben!

By Emily

I don’t actually remember agreeing to be ‘special nails correspondent’ for Get Lippie, it was my birthday and I’d had a few cocktails, natch. But I was delighted the following morning, with a suitably horrific hangover, to find a message confirming the beginning of my blogging career.

So…I’m Emily, and I’m going to be trying, testing and reviewing (and no doubt spilling all over my sofa and clothes) every nail product I can get my hands on, just for you. I don’t claim to be an expert…I have no training whatsoever, but have amassed a rather large collection of varnishes, tools, books, stickers and embellishments over the last few years and love experimenting with new techniques. Sometimes my attempts look like a hot mess, sometimes they look ace and I spend all day staring at my lovely SHINY nails.

As I MAY have mentioned, it was my birthday recently and my lovely team at work gave me this fabulous book: Nail Candy!


Written by Donnie & Ginny Geer, two sisters who started out as nail bloggers, this kitsch delight contains a wealth of nail art ideas and inspiration, with full instructions and clear images. I’d say some of the techniques are quite advanced, butwith a little bit of experience and the right tools I think everyone will find something to love here. Kitten nails with pointy ears (squeeee!), basic striping, dotting and half-moon techniques, artistic paint splatter effects and Harajuki style 3D cutesiness.


I decided to have a go at something simple and opted for the Watercolour manicure. Following their instructions I used two coats of Barry M Blueberry and let them fully dry, before roughly blobbing other shades of blue on top, with a little bit of silver for good measure. While the blobs are still wet you load of wide brush (I actually used an eye-shadow brush) with acetone and then you sort of smoosh the colours together to give a watery paint effect. Finally apply a top-coat and voila…erm, well a watercolour effect that I can’t work out if I like or not.


With a bit of practice (and perhaps better choice of colours) I think this could look fantastic. Have you tried this technique yet? How did you get on?


Emily. x

Share:
© Get Lippie | All rights reserved.
Blogger Template by pipdig